 Sergio’s Slime: Teaching Edition
Sergio Z built this in 2023. Every number is now named,
every function is documented, and the “breathing” trick
is finally explained.
Use WASD or arrow keys to move the slime.
Sergio’s Slime — What Changed
The original 2023 sketch (compare here) runs correctly, but every number is unnamed and the animation trick is invisible in the code. This refactored version names every constant, documents every technique, and makes the single most interesting thing in the sketch — the breathing animation — legible at a glance.
Concepts demonstrated:
sprite-sheet animation with the 9-parameter image() crop •
velocity-based movement with boundary clamping •
WASD + arrow key dual-input •
responsive canvas sizing •
class-based character design.
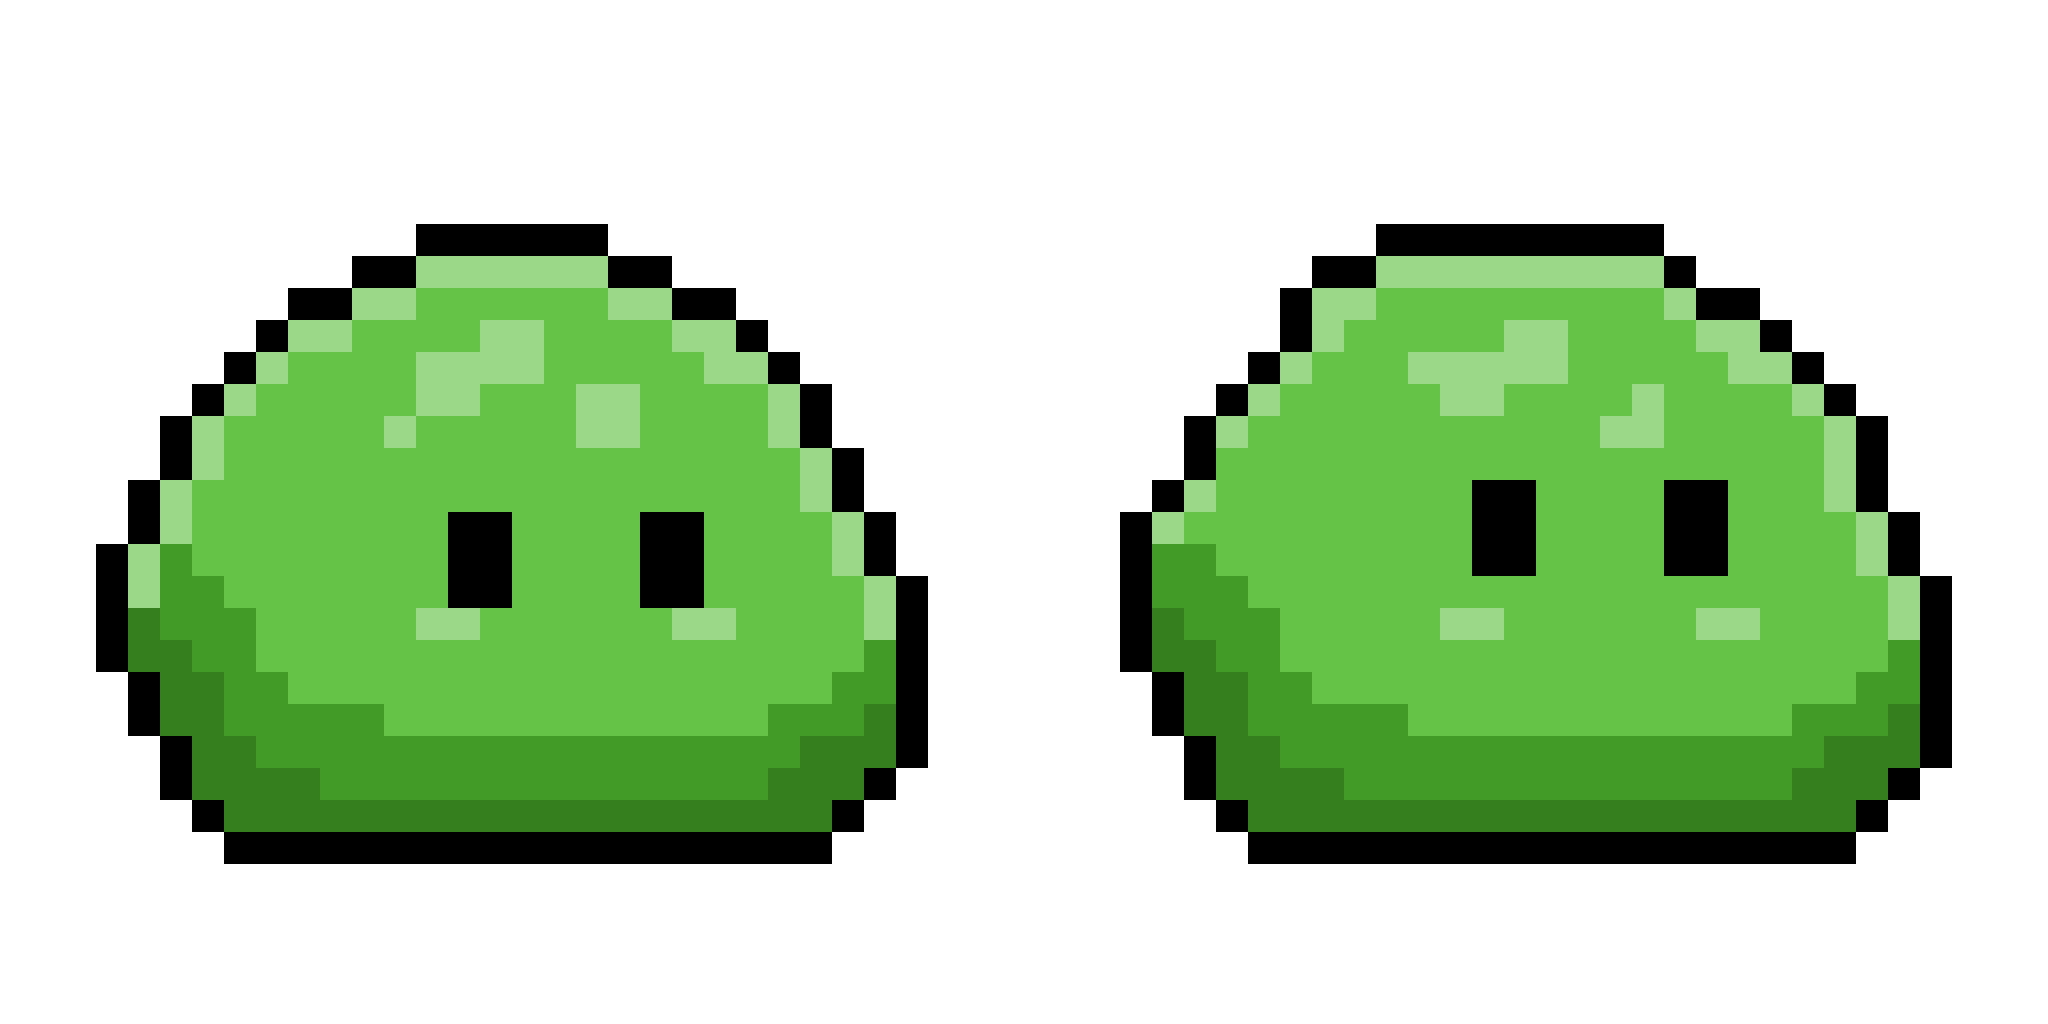
Player class cycles
between them ~every 0.67 seconds using a frame counter and the 9-parameter form of
image(). See Player.js below for the full explanation.
• Full development story
Live sketch requires a larger screen.
Live Sketch
Click the sketch first, then use WASD or arrow keys to move.
Watch the slime breathe while standing still.
This is where the breathing trick lives.
The file header contains a step-by-step diagram showing how the two-frame sprite sheet
is cropped, how the frame counter cycles, and why floor(this.frame)
is the key operation. Every magic number is named and every comment answers
“why?” not just “what?”
JS, Java & Python — Side by Side
The refactored files are structured so every key concept is explicitly visible
and named — ready for translation into Java Processing and Python Processing.
The named constants (PLAYER_SIZE, ANIM_SPEED, etc.) become
final fields in Java and UPPER_CASE conventions in Python.
The nine-parameter image() call is identical across all three languages.
The push()/pop() mirror flip becomes pushMatrix()/popMatrix() in Java.
App Comparison (JS / Java / Python) • Development Chat Log • Compare with Original
Try It in the p5.js Online Editor
This sketch uses two JavaScript files and three images. The p5.js online editor supports multi-file projects and image uploads, so everything can run there without installing anything. Download all five assets below, then follow the setup steps.
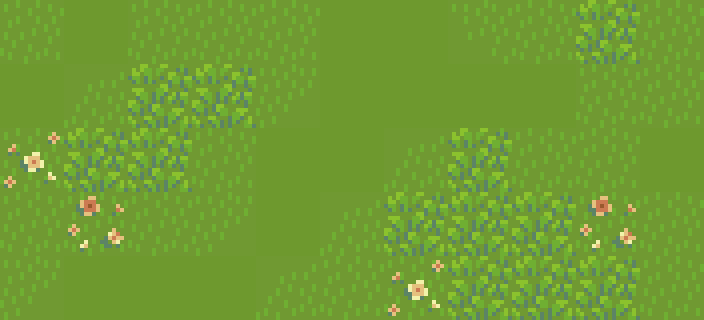

- Download both JS files and all three images using the buttons above.
- Open the downloaded
sketch.jsin any text editor. OpenPlayer.jsin a text editor. Copy the entire contents ofPlayer.jsand paste it at the very bottom ofsketch.js(after the last line ofmyResizeCanvas). Save the merged file. - Open editor.p5js.org.
Paste the merged
sketch.jscontent into the editor’s defaultsketch.jstab. - In Sketch Files, click the folder icon to create a
folder named
images. Upload all three image files (Grass_Sample.png,slimeSprite.png,slimeBack.png) into it. - Click Run ▶. The slime should appear on a grass background. If the grass image fails to load, a solid dark-green background appears automatically — gameplay is unaffected.
.js files
in the same global scope. By creating Player.js first (step 2),
the editor adds it to the project’s index.html before
sketch.js, so the Player class is available when the
sketch starts. No import statement is needed.
preload(). The sketch uses
async setup() with await loadImage()
instead, which works in both 2.x (editor) and 1.9.4 (this showcase page).